Reports Selection
Overview
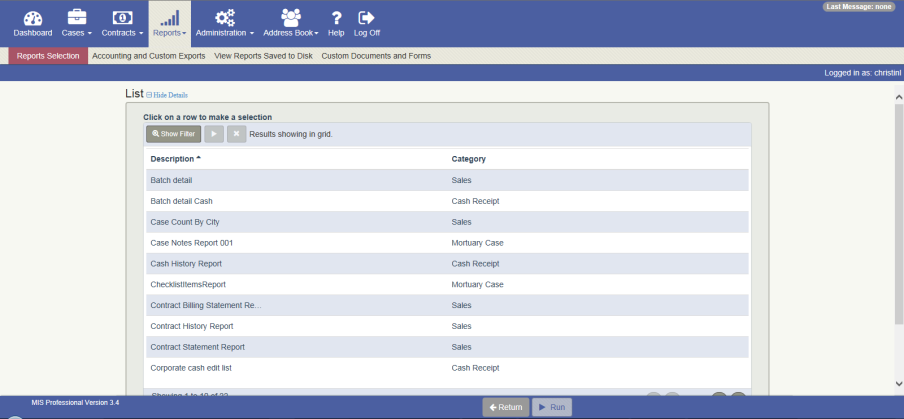
The Reports Selection screen is used to run reports.
A report is a system artifact that organizes and presents system data in a printable format that is easy to analyze. For example, the “Cases By City” report summarizes at-need cases in a given time period by decedent’s city or residence. Generally speaking, reports are used to analyze useful business data from a collection of cases.
Reports are saved to the database for future viewing and printing. You can view reports in the View Reports Saved to Disk screen.
Workflow
To run a report:
1. Navigate to the Reports and Forms Selection screen.
2. Select the report that you want to run.
3. Click the RUN button in the footer. The report’s criteria popup appears.
4. Enter data in the criteria fields; some fields may be required.
5. Click the VIEW REPORT button. The report is generated. Most reports will be presented in a PDF viewer. You can use the tools within the PDF viewer to print, zoom, navigate, etc.
You can change the format in which the report is generated by selecting a different file type from the drop down list. For example, if you would rather have the report open in Microsoft Word, select the .DOC format from the drop-down list and then click the EXPORT button. You can download the file from your browser’s file download program which will appear automatically on the screen.
Available Export Formats are: PDF, DOC, DOCX, EXCEL, CSV, IMAGE, XML
Information Regarding Batch-Related Reports
There are several reports that are included in the application but are run only from the Batch Search screen. These reports are:
- Corporate cash edit list
- Edit list gl summary - cash (corporate)
- Corporate sales edit list
- Corporate sales edit list gl summary
- Corporate cash journal
- Corporate sales journal
- Summary by gl account - cash (corporate)
- Summary by gl account - sales (corporate)
- Error report
- Batch detail
- Batch detail Cash